Hallway Makeover - Our Hand Painted House

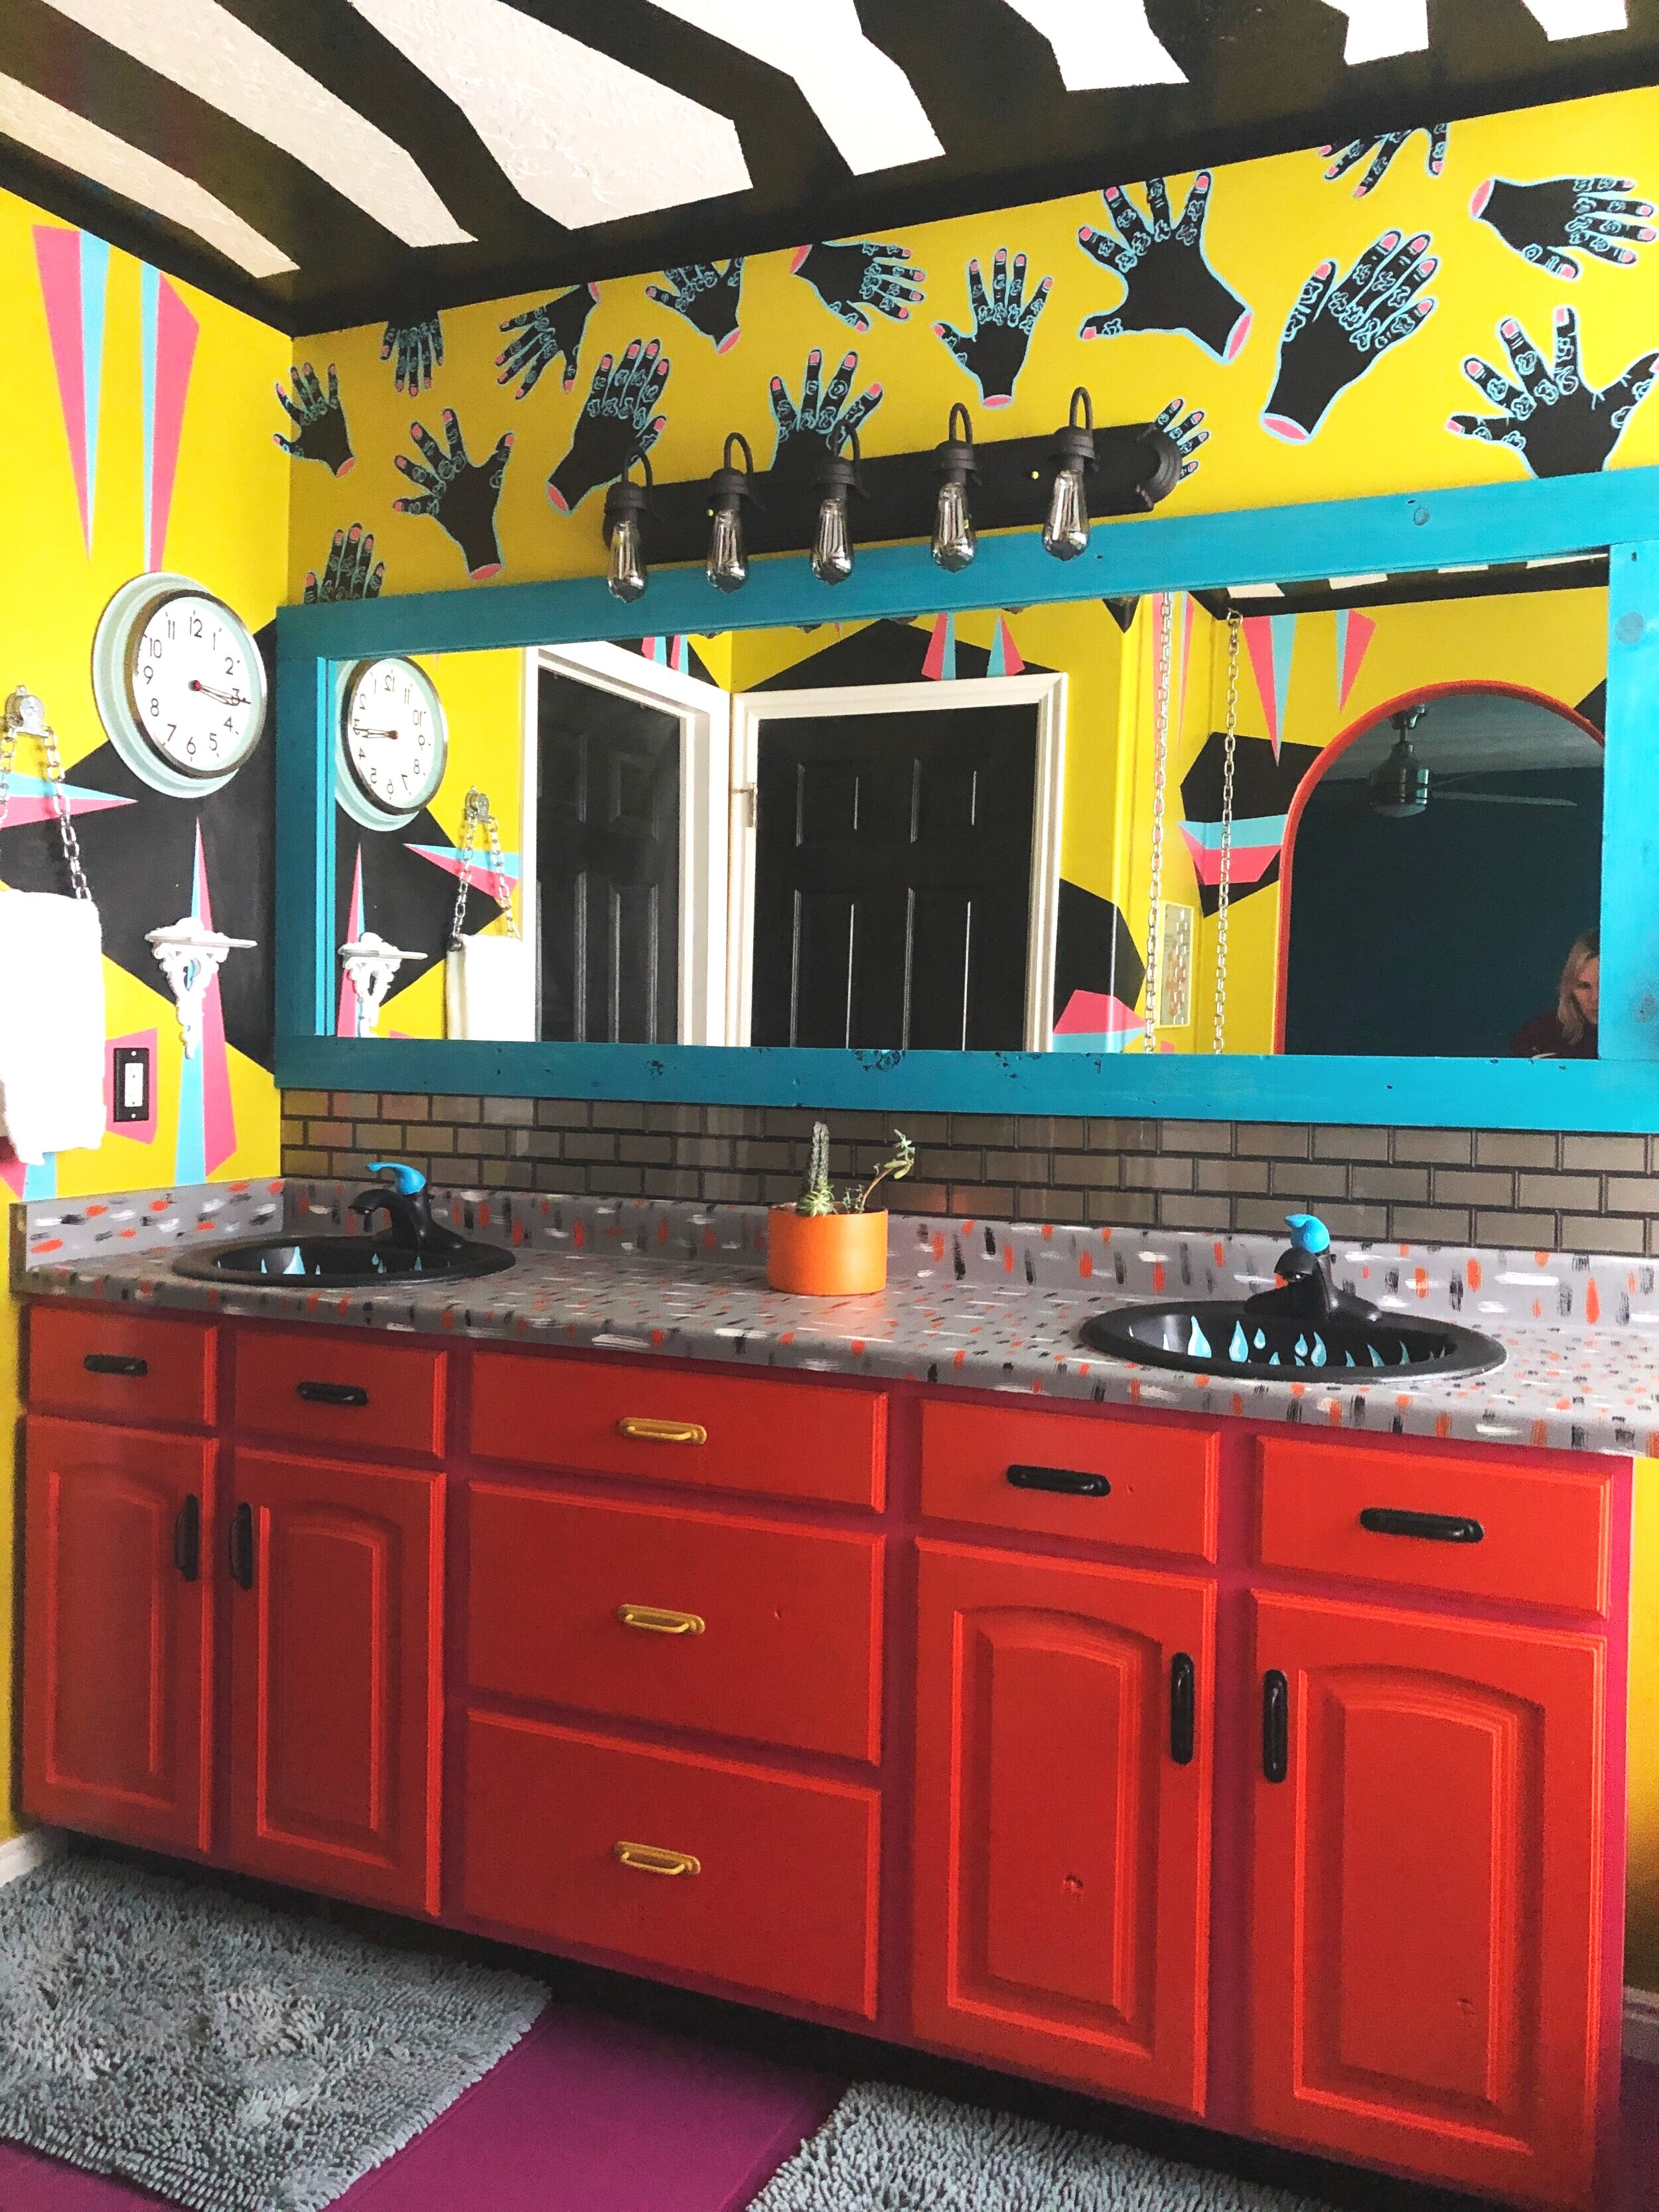
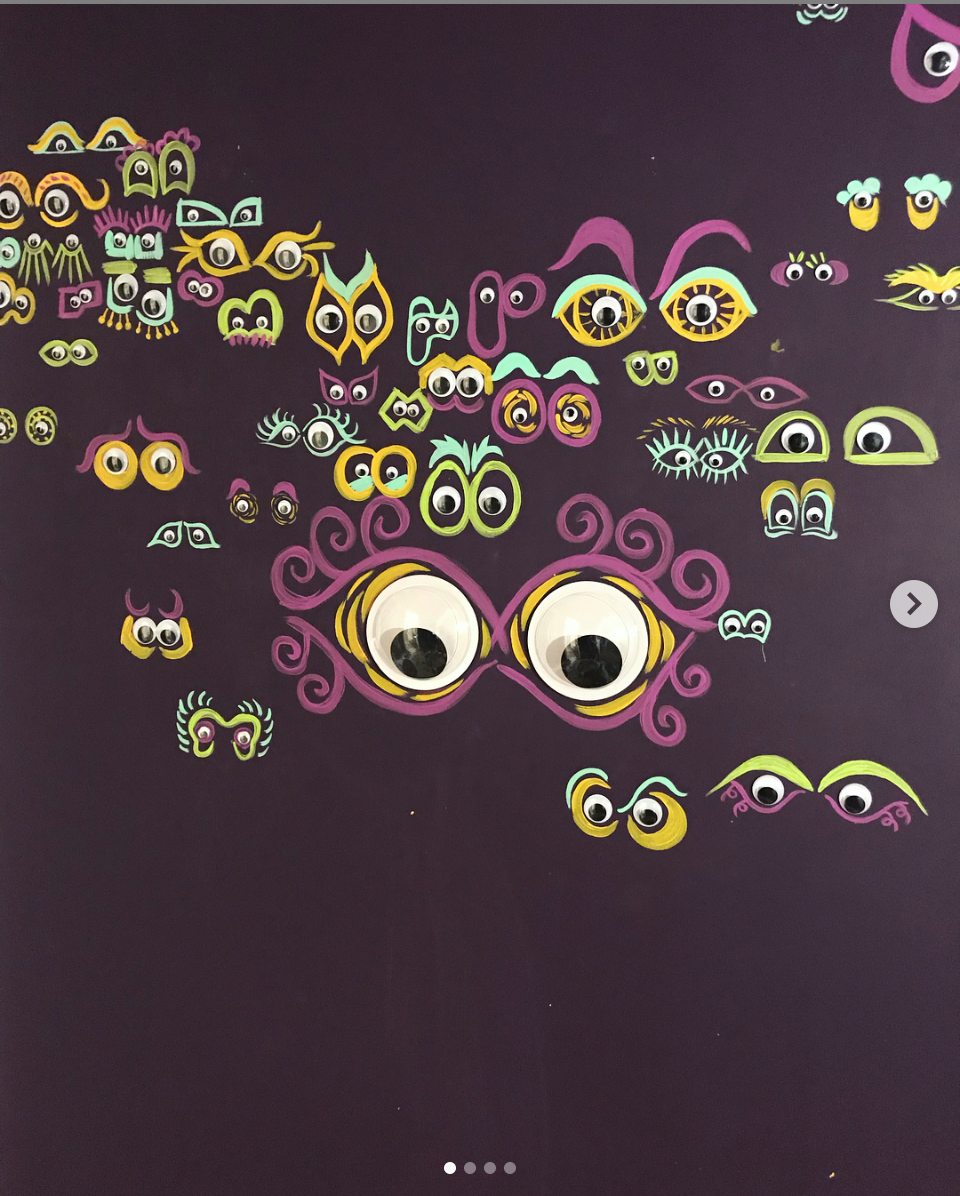
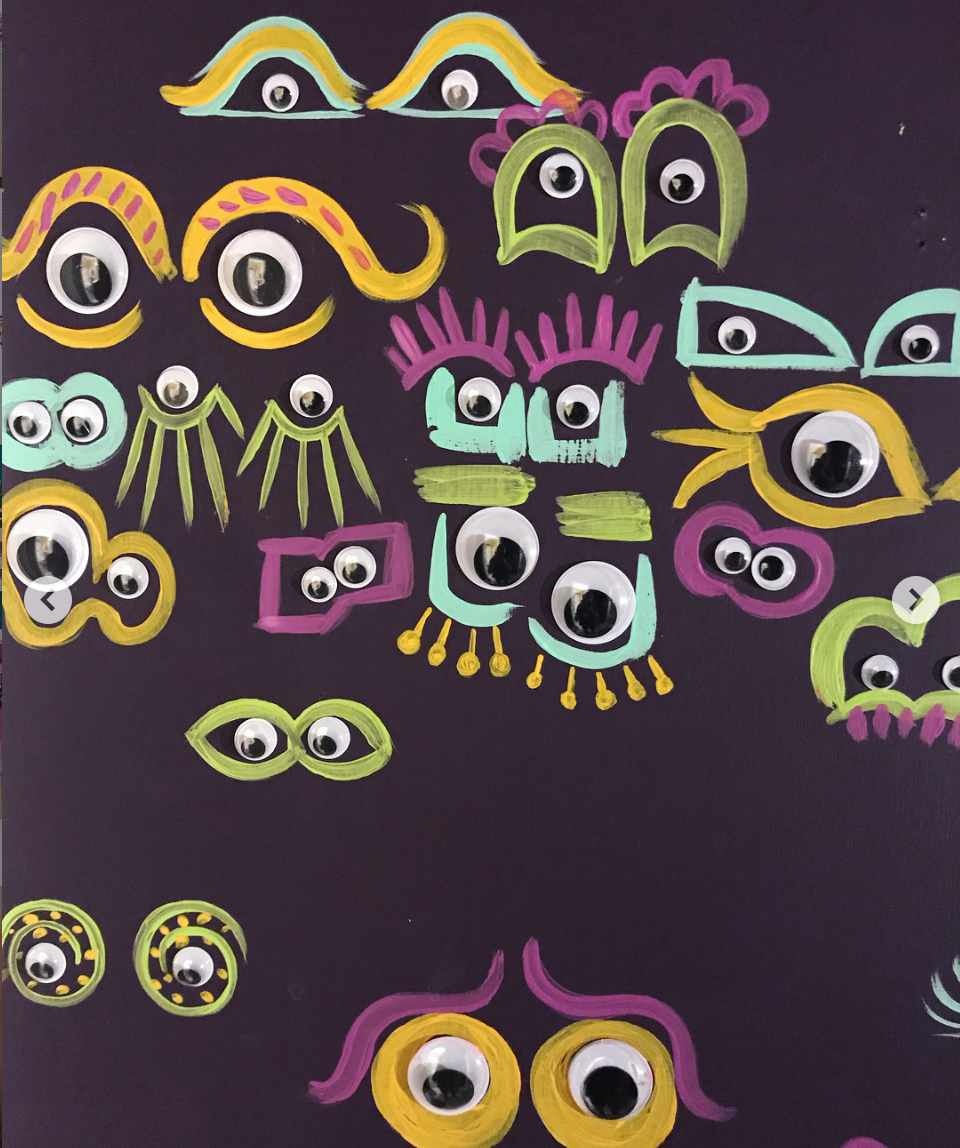
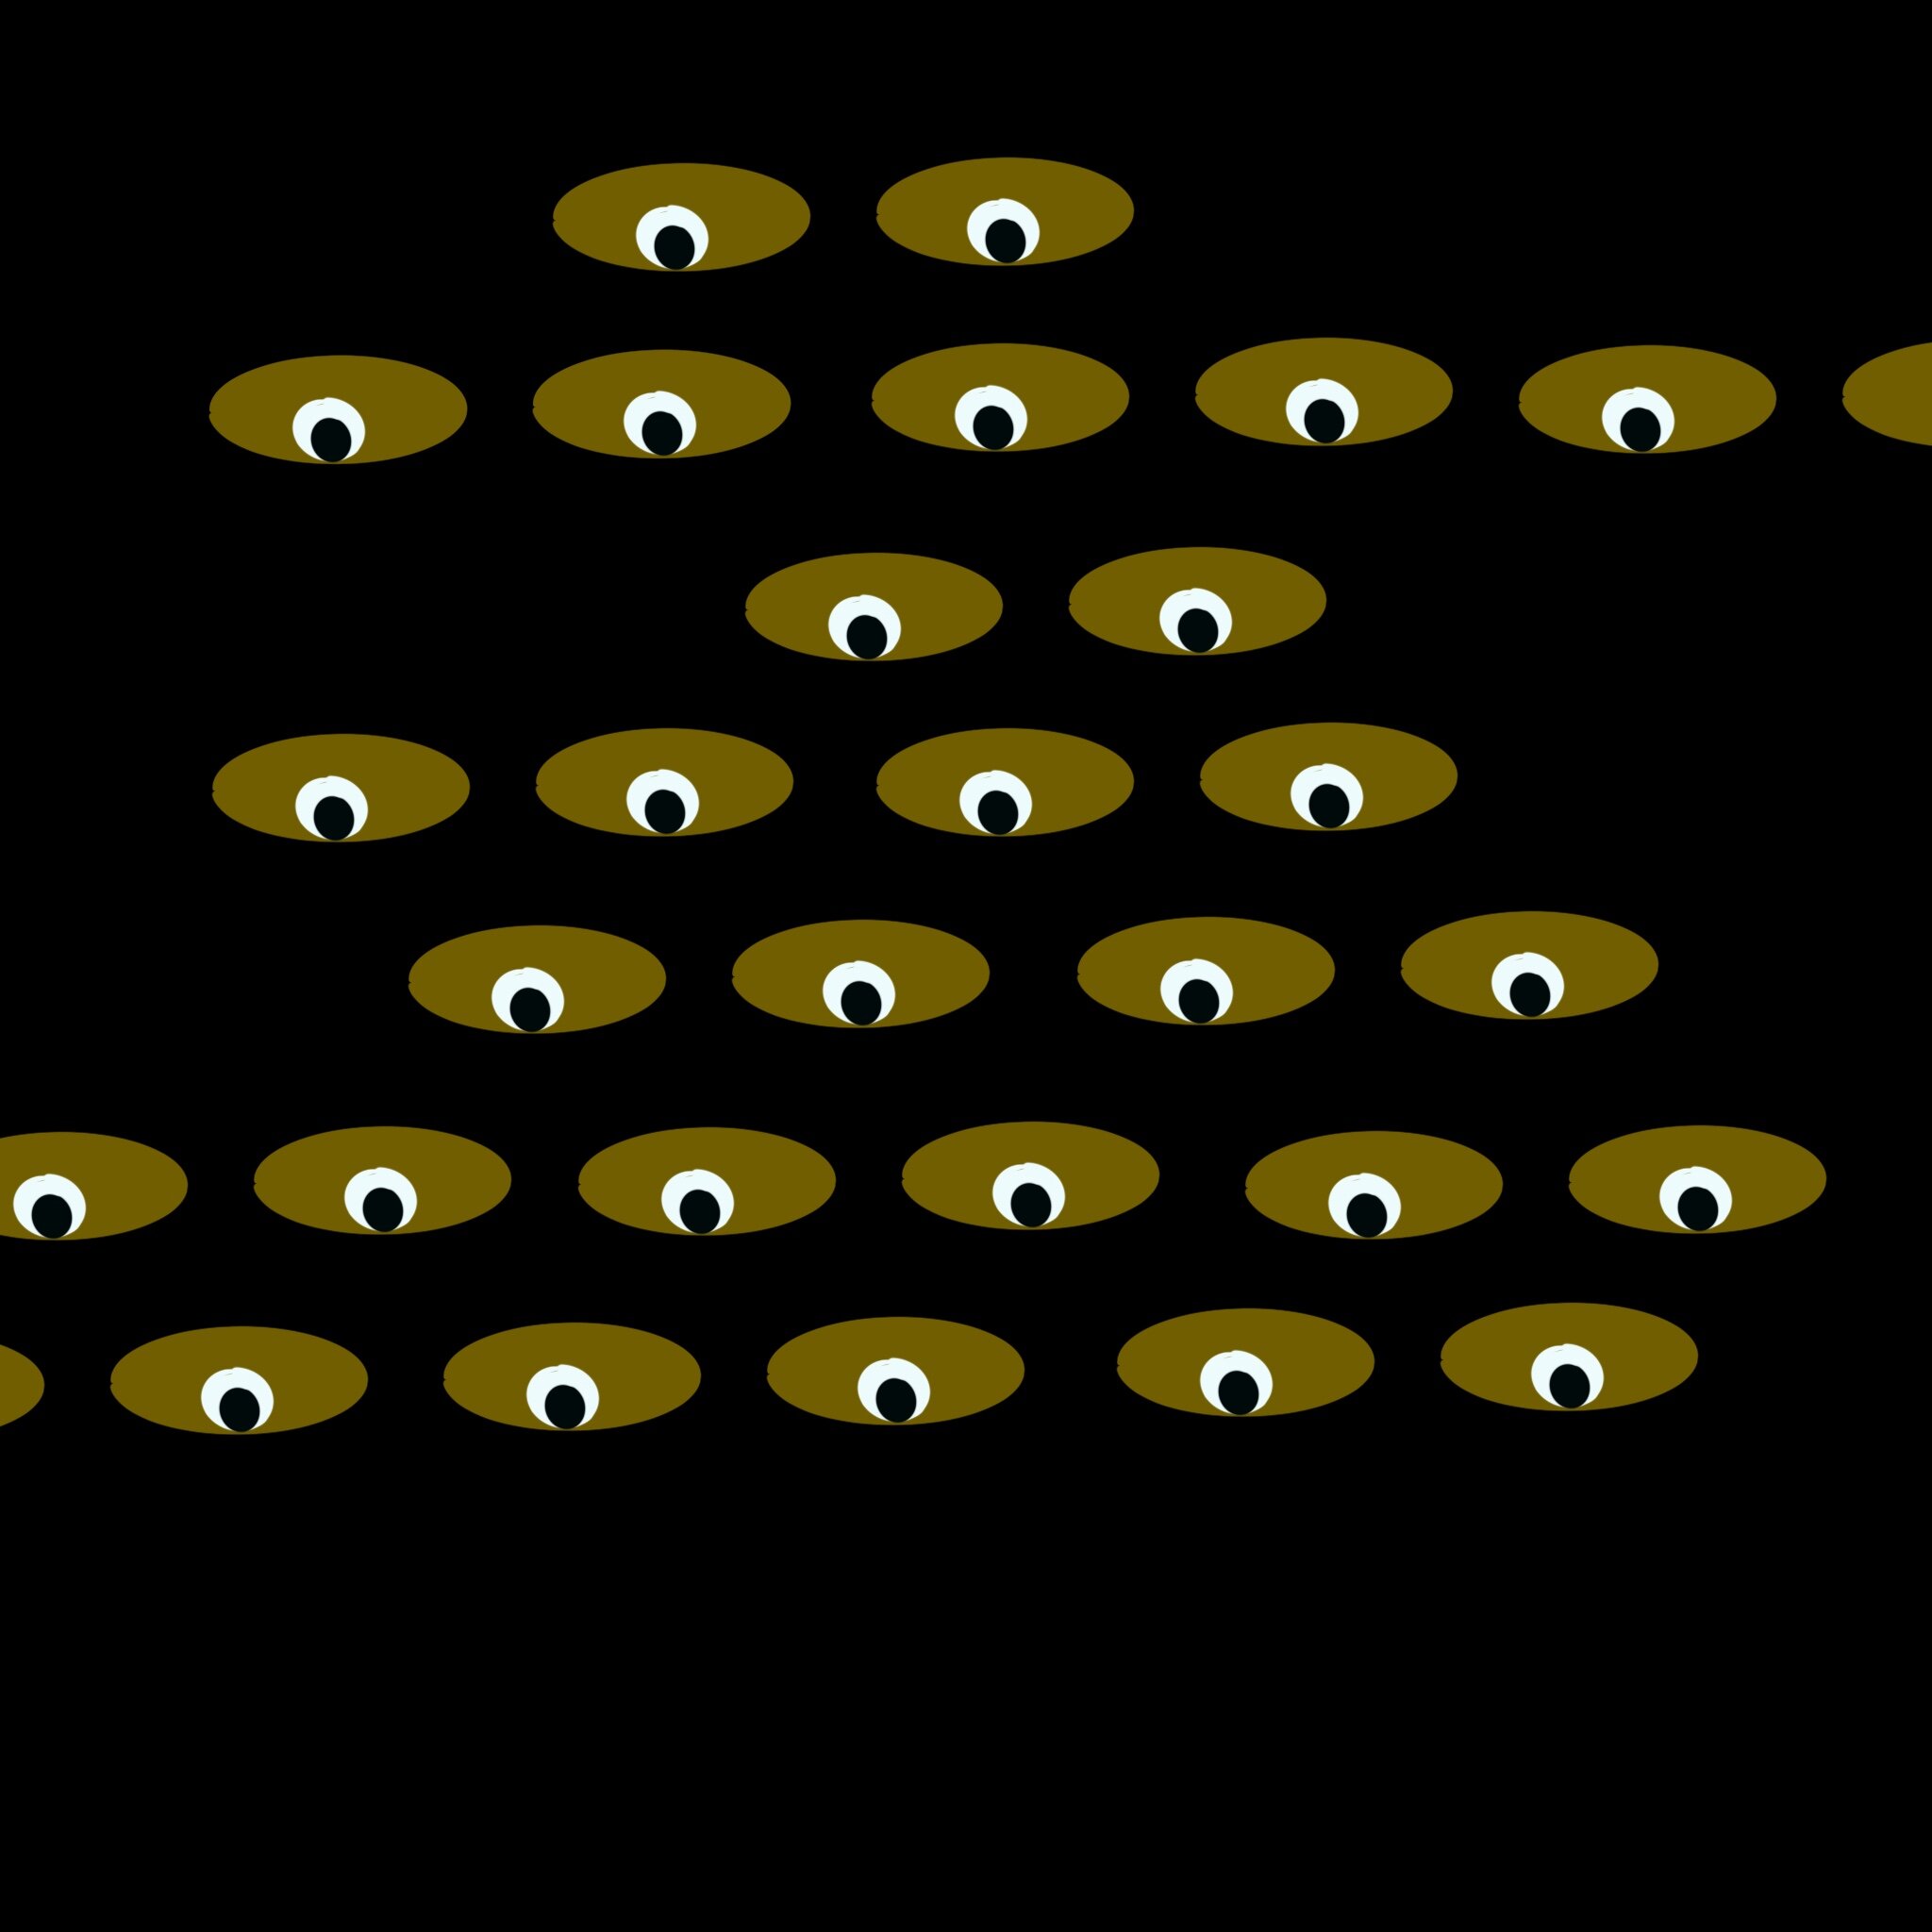
We have this small squarish hallway leading to Jarrod’s Office, my Art Studio and the main floor bathroom. Oh, also a linen closet. I really wanted to do the entire hallway in googly eyes (shhh …. it’s okay) and started it. However, it proved to be incredibly time consuming to do each set of eyes differently and I quickly abandoned the project and fretted about how I should move forward. It sat like this for about a year:

Here’s Googly and I posing for an instagram post (showing off a t-shirt I designed) , before I betrayed and destroyed him.

While I took my time deciding if I should really spend hours upon hours painting each individual set of eyes, I turned around to the opposite wall on an ADHD whim and started this lightning/cloud pattern:

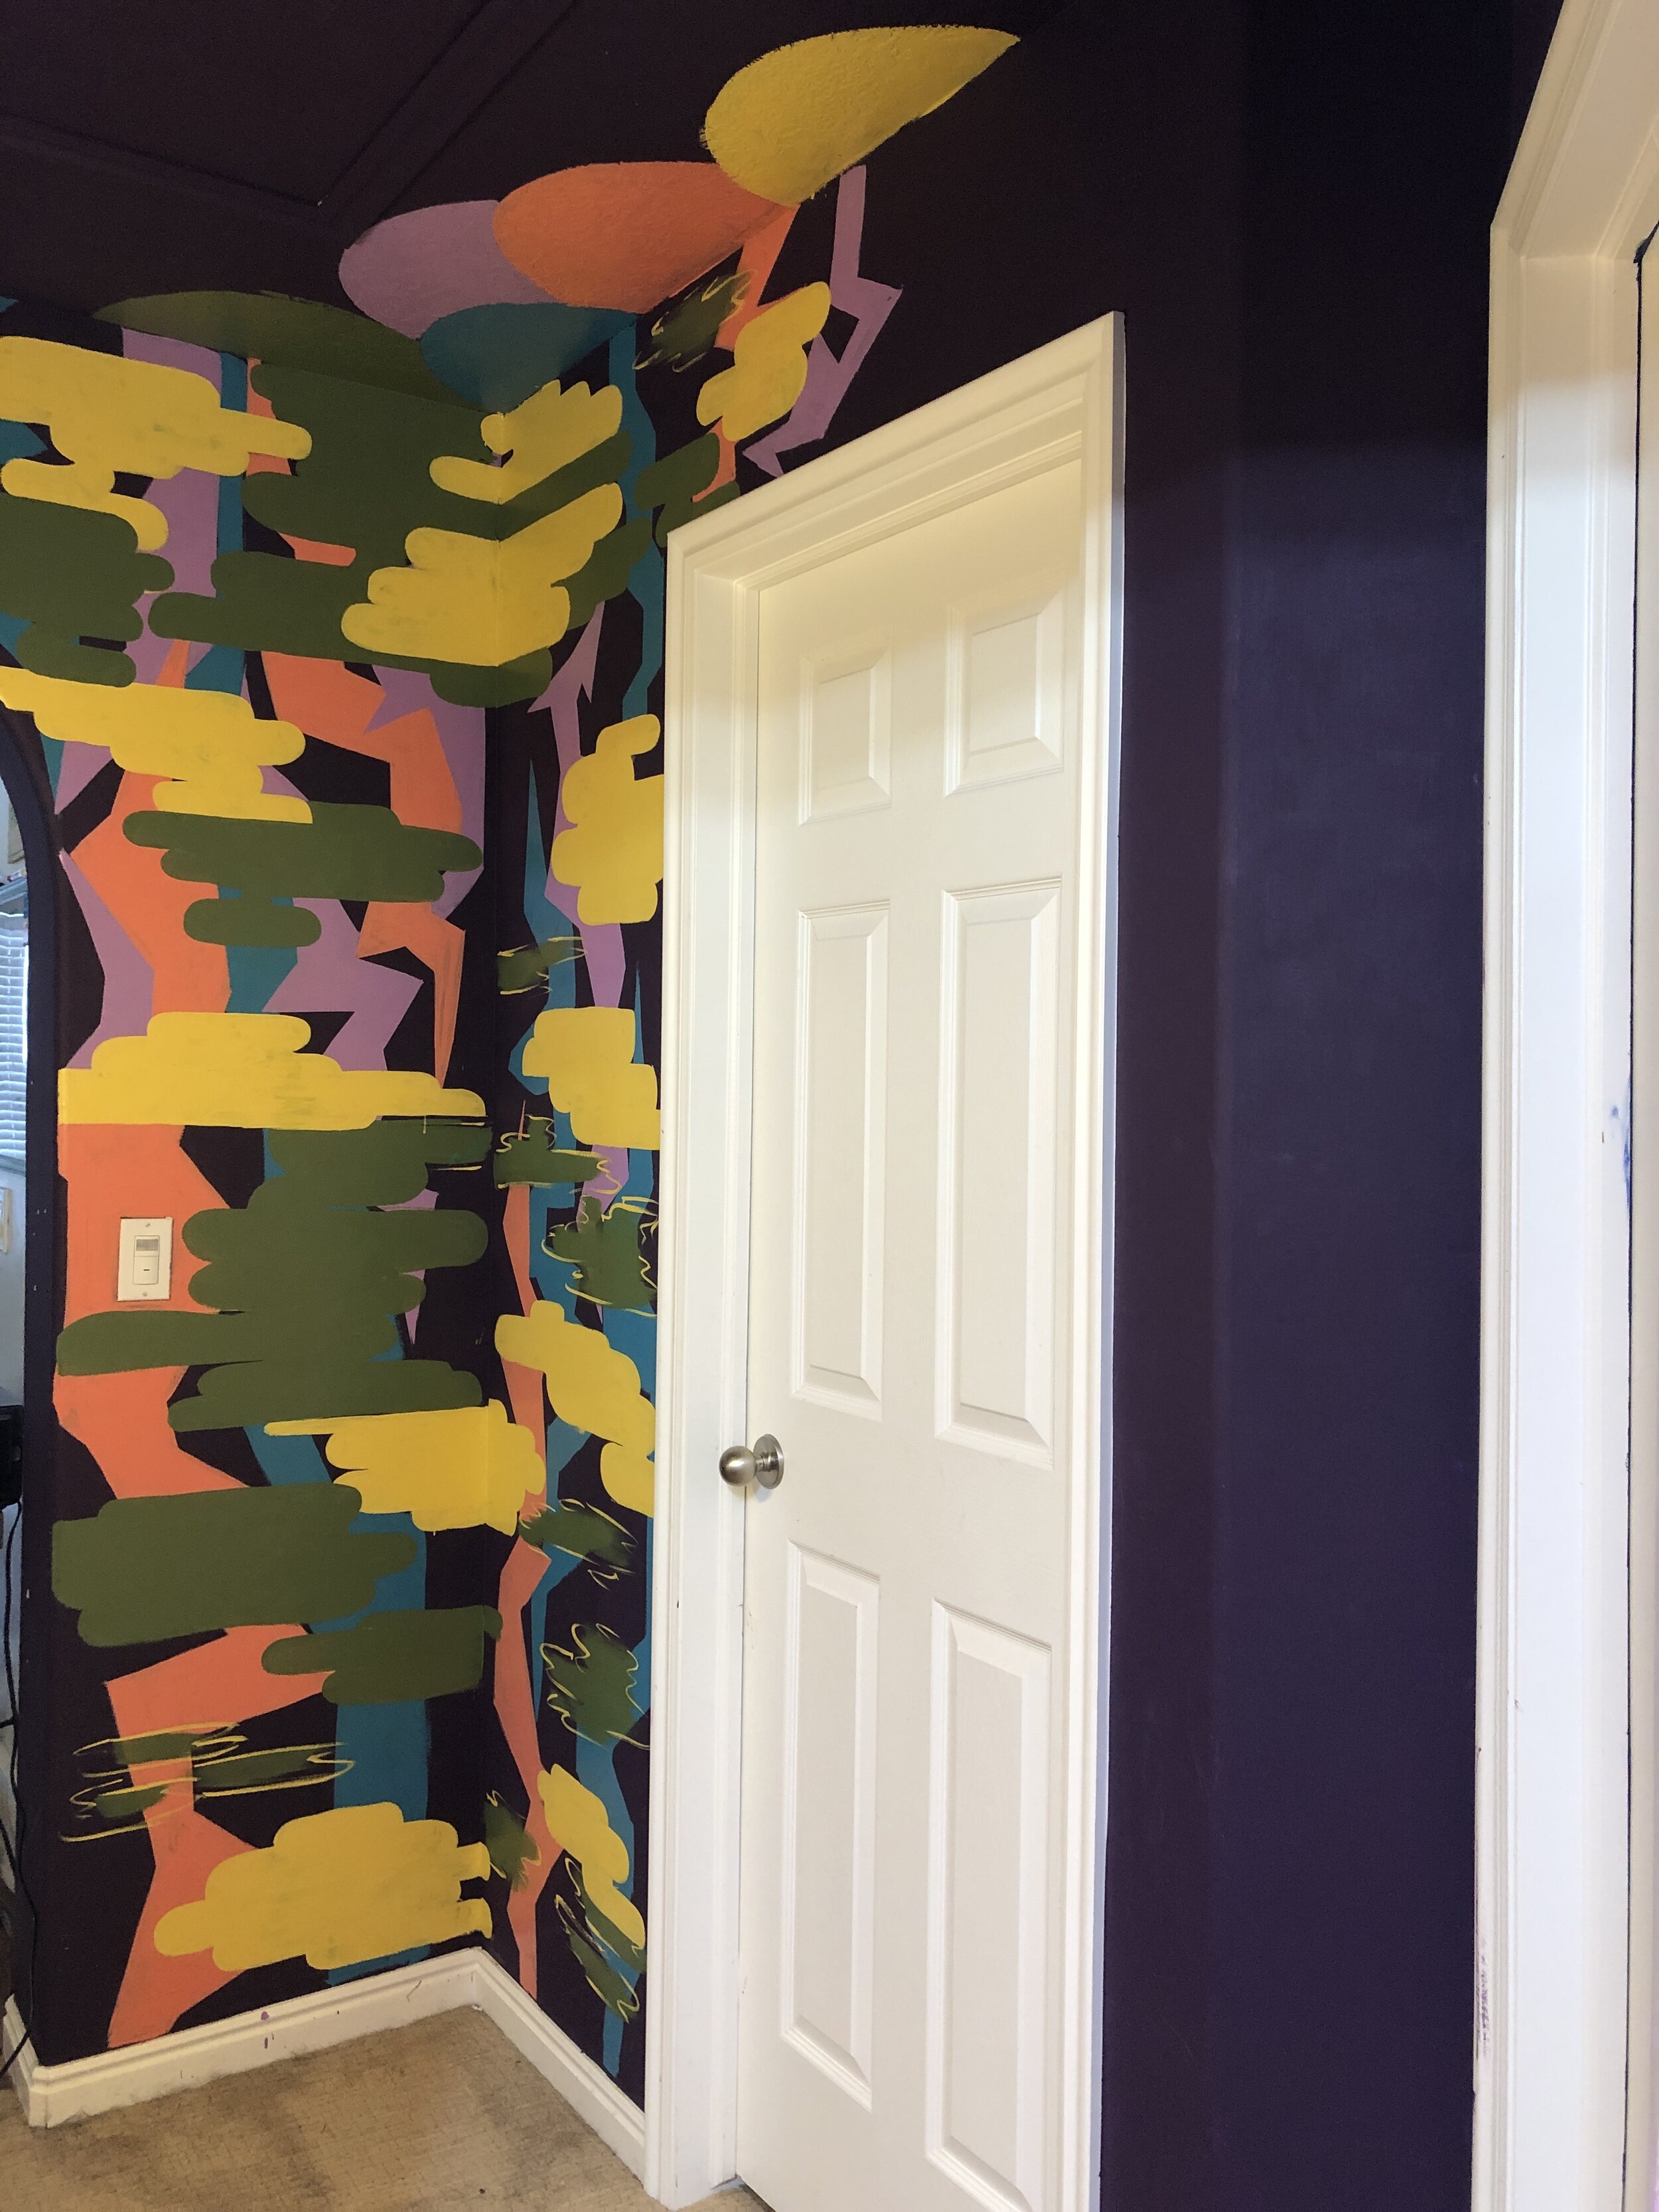
Here it is, unfinished, much like most of the projects in my life. I actually really liked where this was going and considered just taking it all the way around. In the end, I decided to just start over. (I will probably use this pattern elsewhere in the house.)

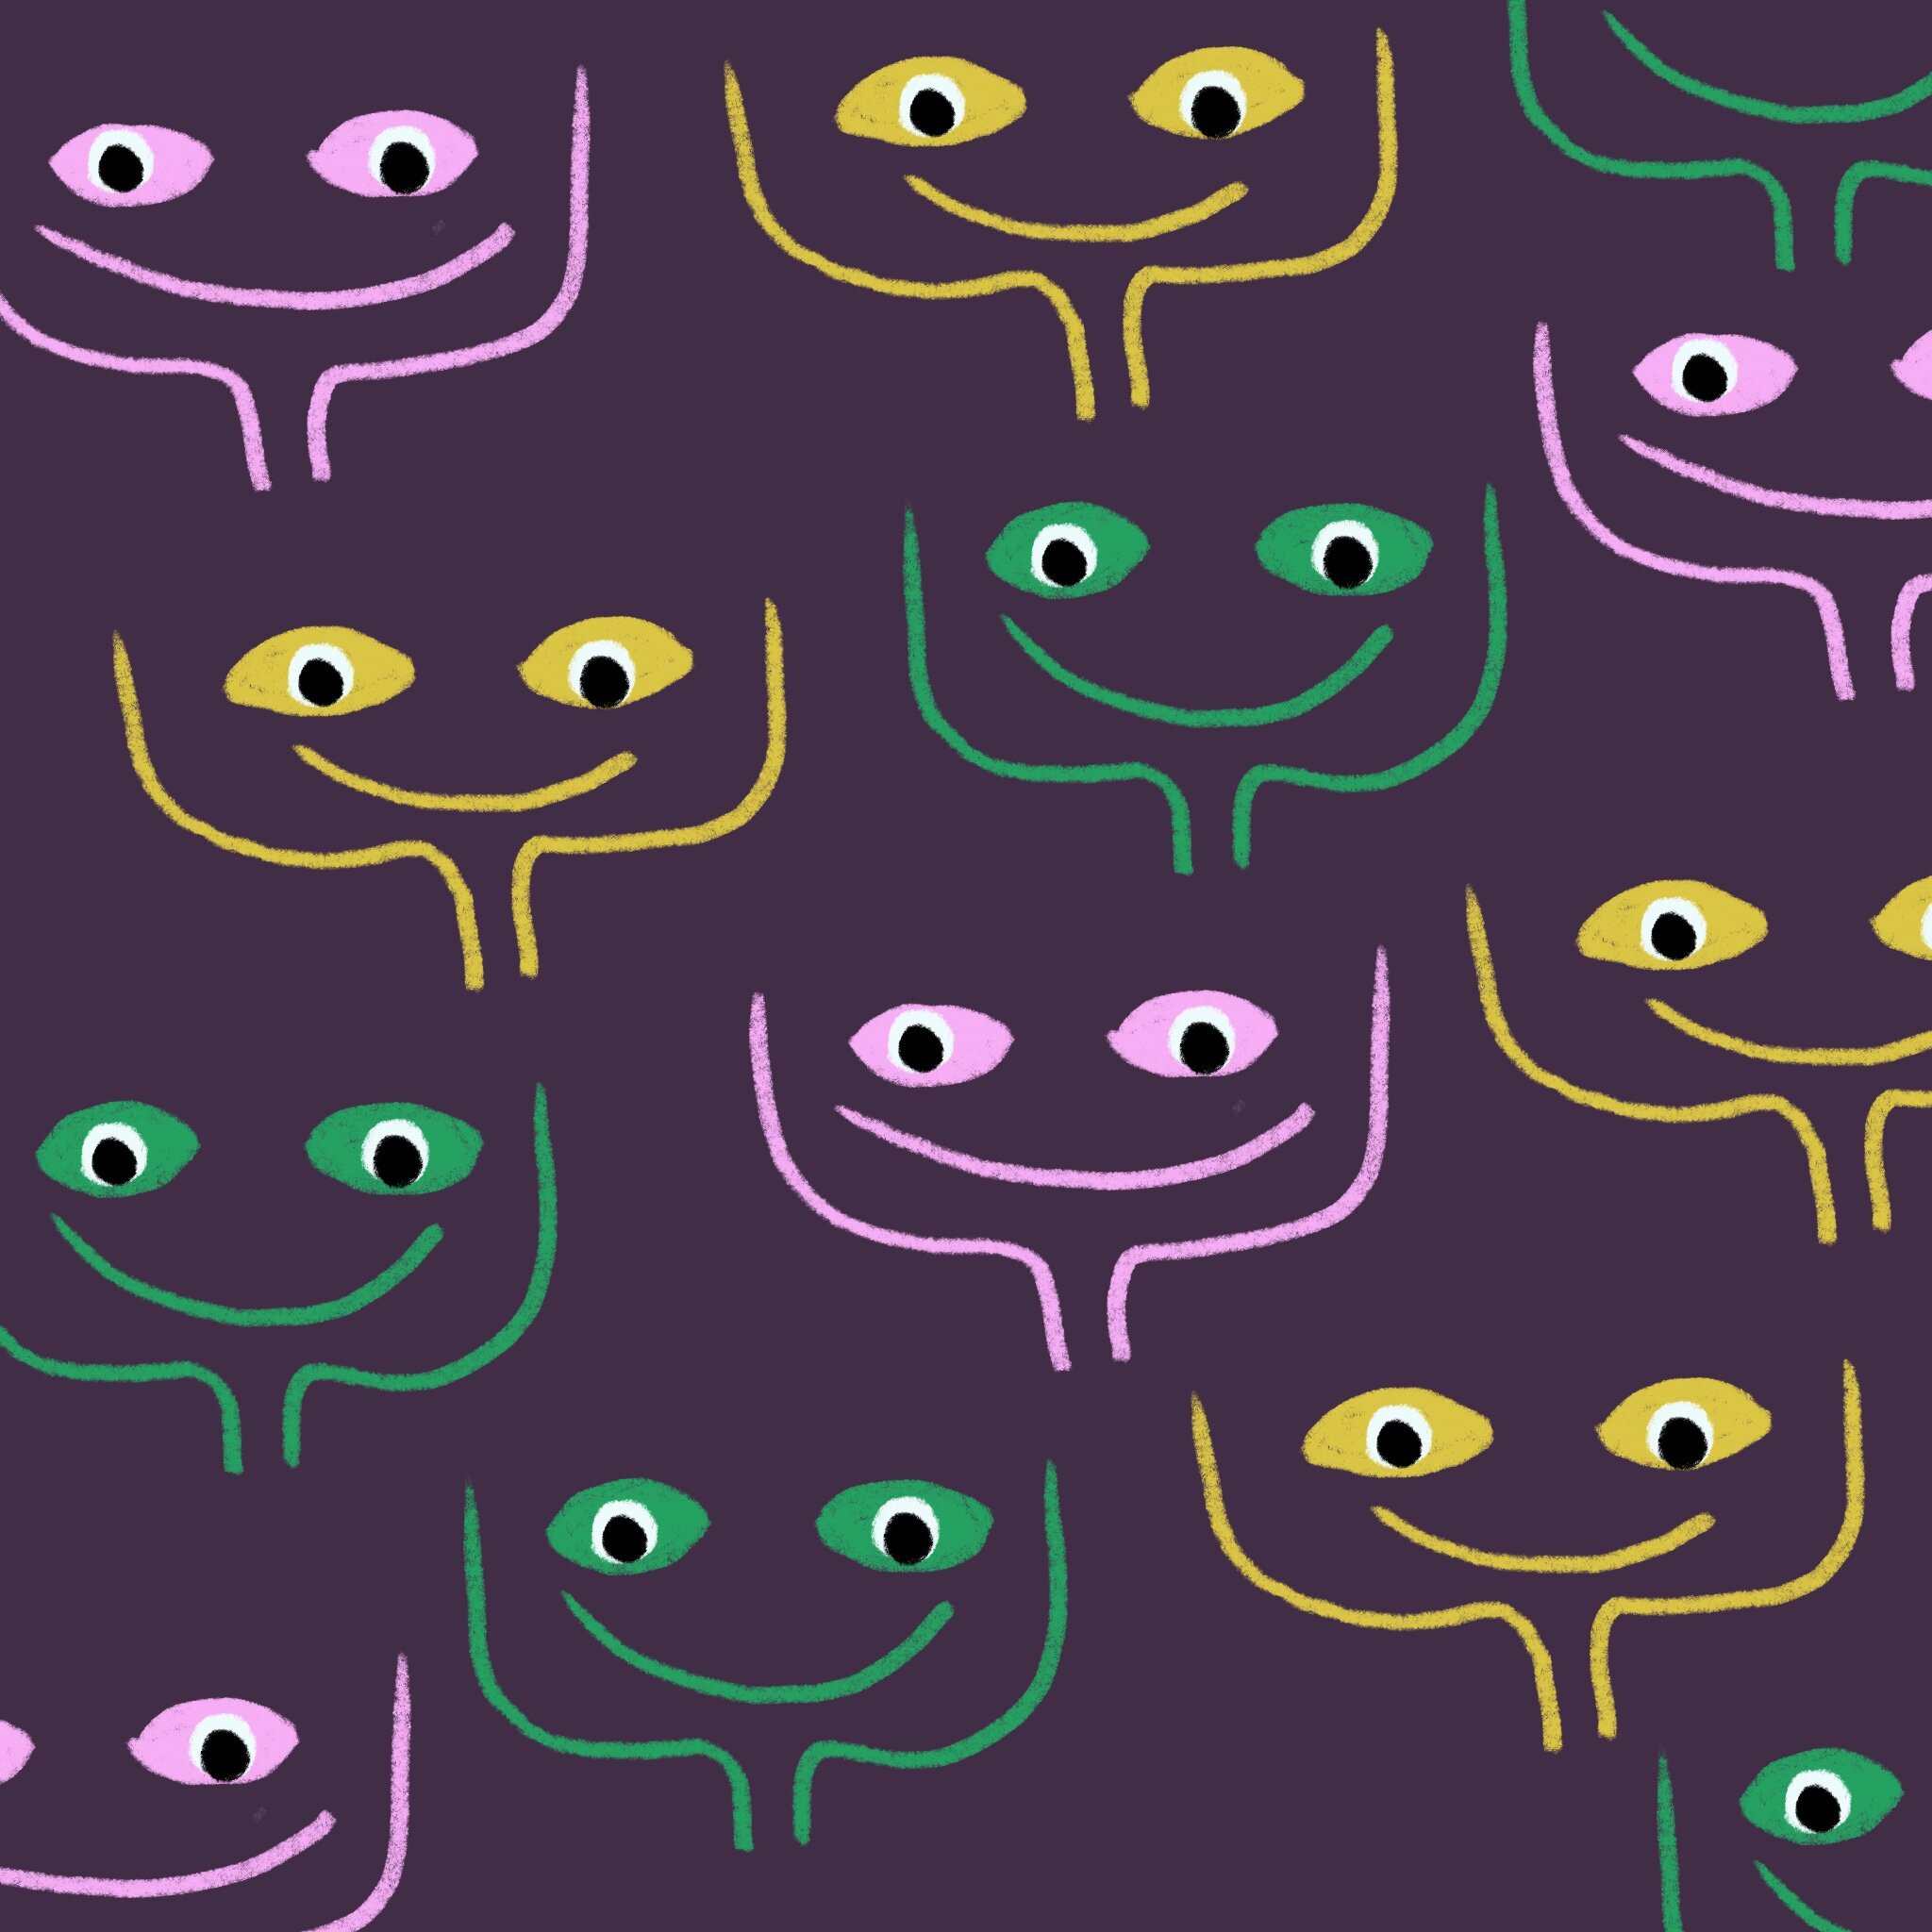
So I painted over everything with the same deep plum color and this time covered the baseboards and door frame. While I was painting I was trying to figure out what I wanted to paint on the walls. I thought about doing the googly eye thing (my family is apparently sad that I painted over it) in a simpler pattern, or actually giving them faces.

I got my iPad out to do some rough sketches:

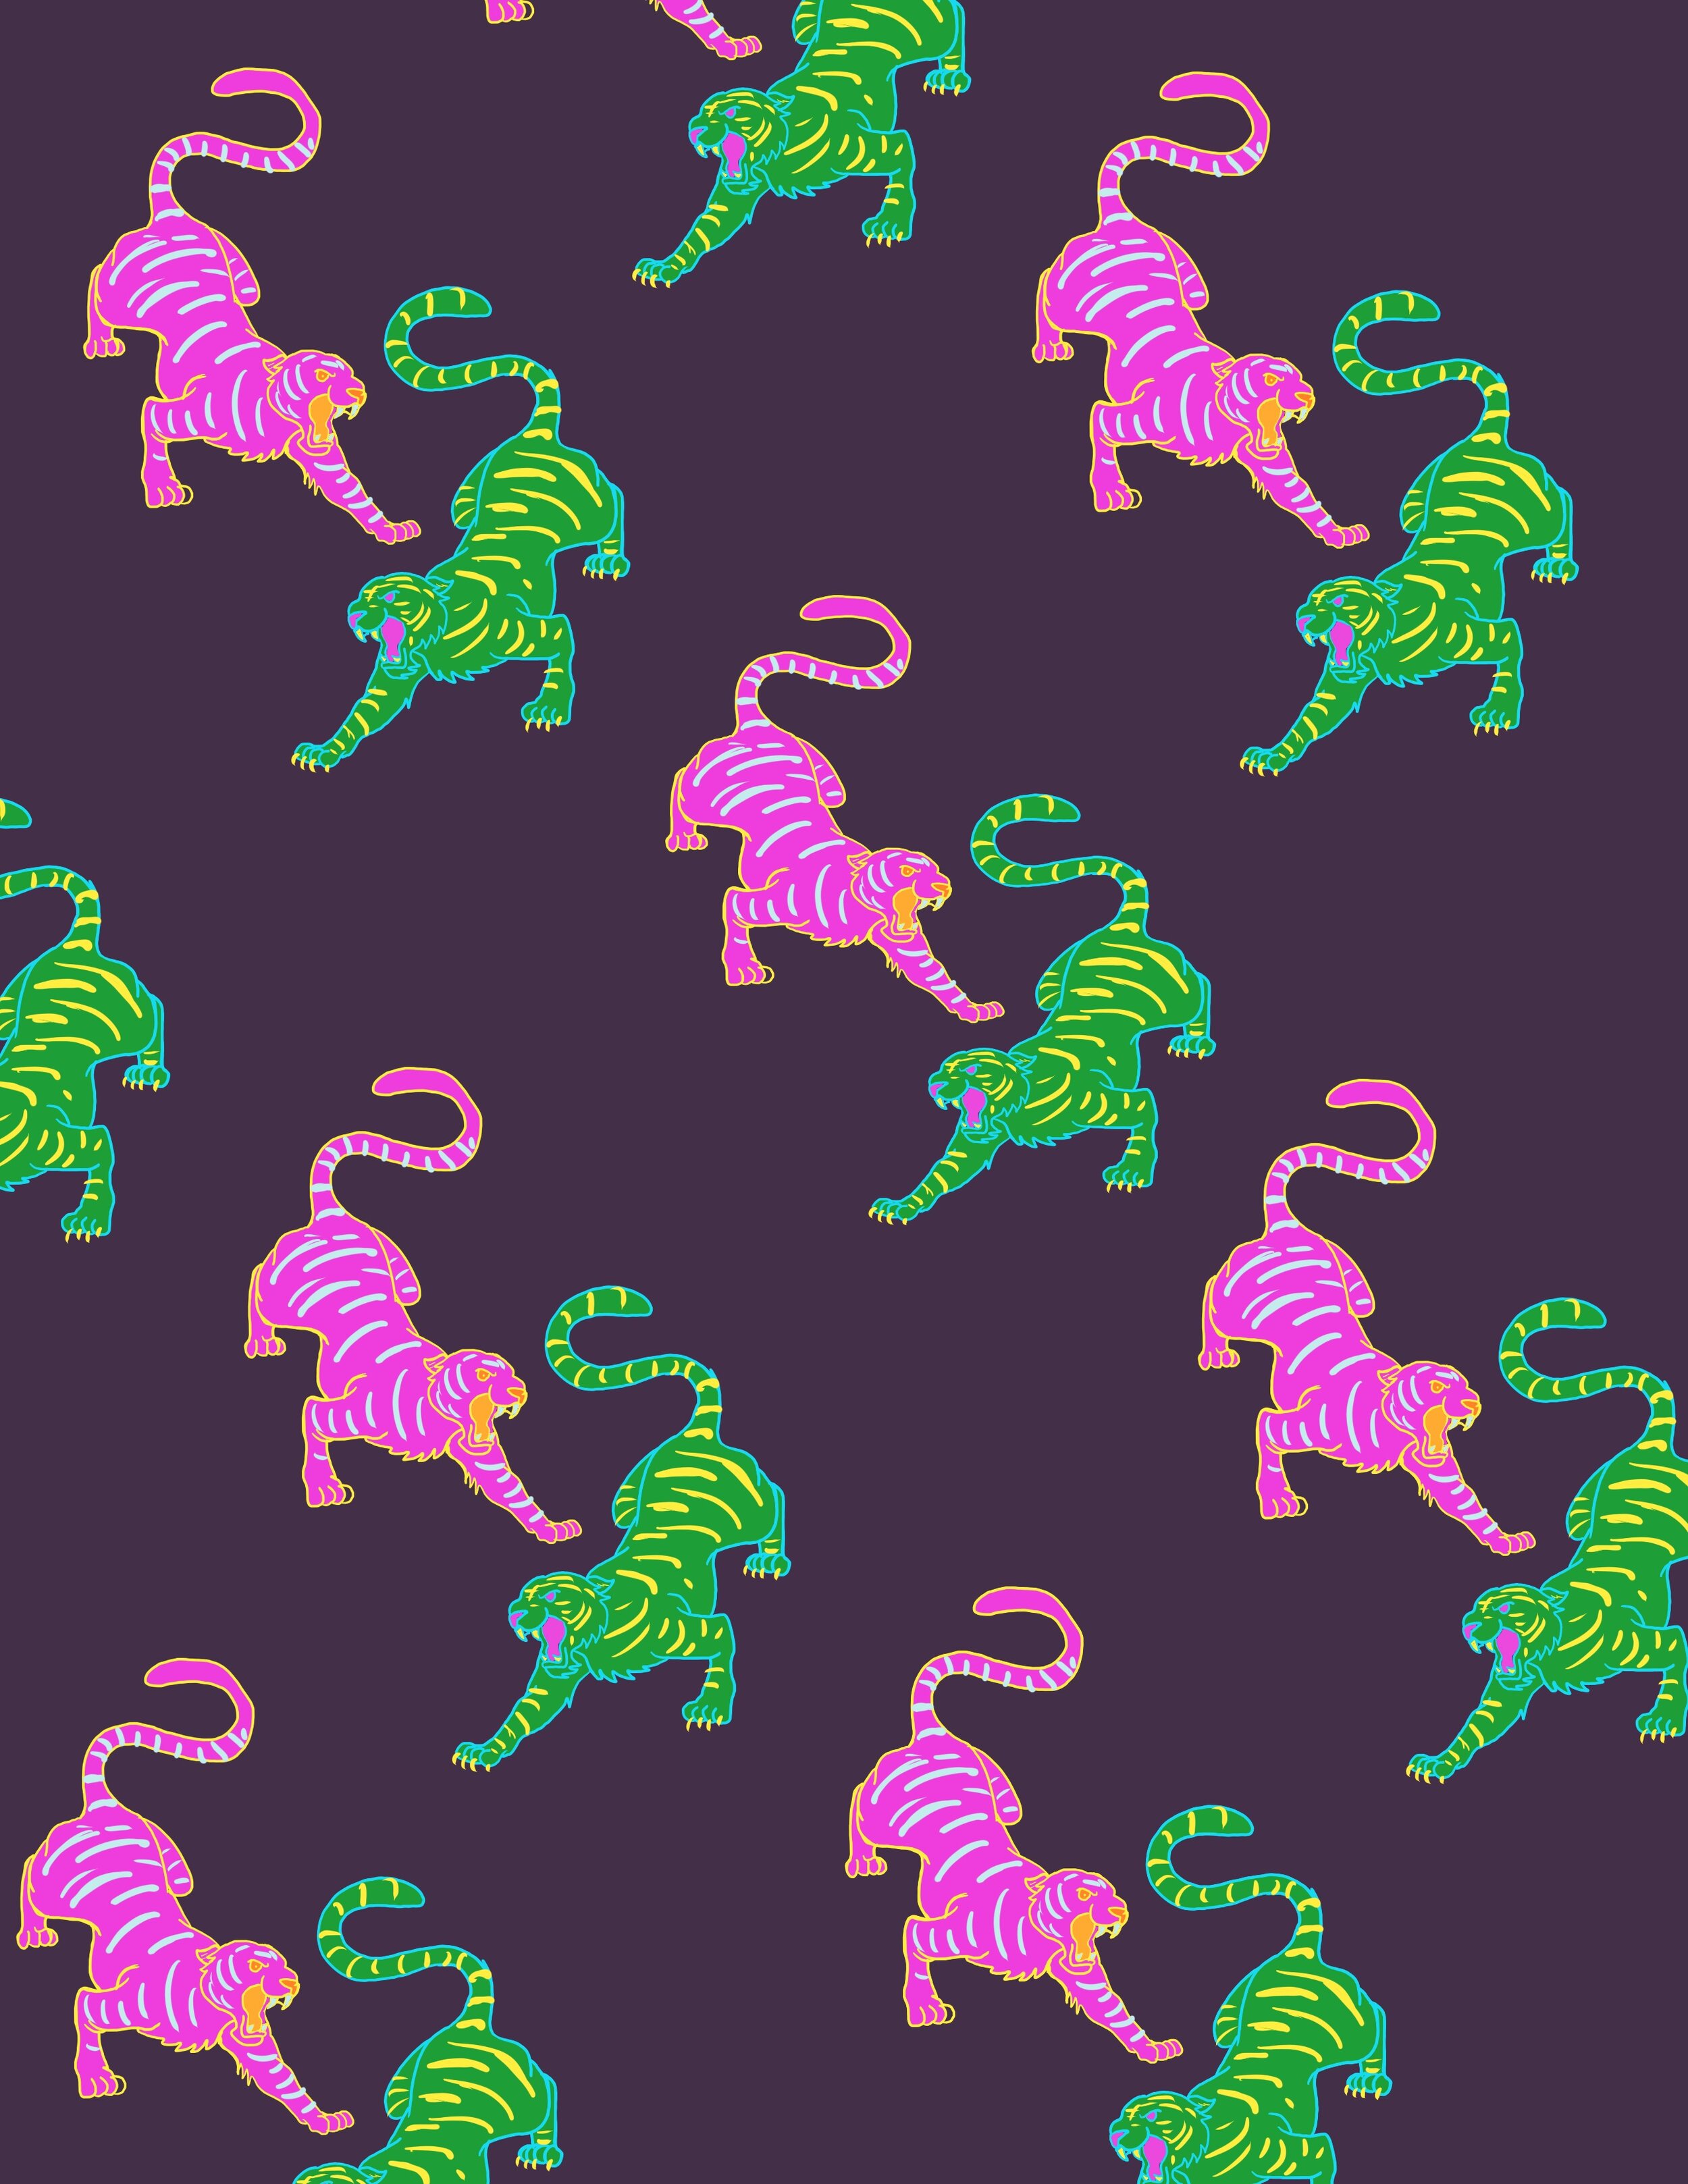
I really just felt like this was not the place for the googly eye wall. Images of Tigers kept coming to me, so after about 18 attempts at drawing a tiger (It’s so funny, as an artist you get really good at drawing/painting certain things/people/places etc, so when I tried to draw a tiger, which I never draw, it was so….bad.) I finally got a reference photo and did a quick outline then filled in the rest myself. ( OOF! I’m definitely going to start branching out on my skills here. )

Anyways, I know, shut up already, right?

So I ended up with this:

This is the first time I’ll be making my own stencil, and I’m nervous. Also, will I regret this? I think I’ll make them really big so I’m not spending 6 months doing that much detail on each tiger. Also, the colors will be more muted than what’s on the digital version. Also, stay tuned!

Hey Melissa Mae / Funky Master Bathroom / FINAL REVEAL - One Room Challenge

Woo, man! Finished up right in the nick of time.

Painting almost every square inch of a room takes a lot of drying time between multiple layers!

I love how it turned out, the colors make me so happy.

Here is my first One Room Challenge project, done and done:

The artwork I bought online about 3 years ago and the font color on the tattooed man was actually what inspired the base color for the walls. I saw them and thought it looked like Jarrod and me. :)

I found this statue second hand and used it for a movie set I production designed (Fatherly Obsession - Lifetime). It’s been hanging out in my garage so I gave her a makeover from gold to orange/yellow.

The sinks were the most work. It took layers and layers of paint and sanding down, then adding the droplets, sanding those down, varnishing, etc. The second one took about half the time, as the first one was trial and error. But so worth it.

I love them.

I figured since everything was so colorful we would go with white towels.

I bought this album cover years ago and have had it in my kitchens as I’ve moved around. I thought it was perfect for the space.

This little room is still a work in progress. I’ll add some fun plants and weird knick knacks to the yellow wall shelf. (I just grabbed some things from around the house for temporary staging.)

As you can see, this is where Jarrod and I write notes to each other. Love notes, funny notes, inside jokes. It’s so fun, I highly recommend making a wall in your home for this kind of thing!

For this abstract wall I cut into a few different sizes of paintbrushes to create different textures and layered the colors.

Jarrod got two of these old gas signs at an antique shop and mounted it before we did the One Room Challenge. He also made that rad Darth Vadar light switch plate. I think they fit right in to the new design. :)

Little vintage shelf I found secondhand and spray painted. I’ll add some plants and other things to this little shelf.

You can see right into our bathroom from our bedroom door, so if anyone ever walks in (kids) I thought I’d provide a little more privacy by painting stripes in black and then varnishing over the glass in between to create a frosted glass look.

I love our spouty guy, Oh look, there still painters tape on there…oops.

As I’ve mentioned in earlier posts, I really love to just create on the fly. My brain seems to work best that way. With a rough plan, I just start and then the next idea comes and I start to put the room together step by step while I’m in the actual space.

My goal with our house is to make it fun, inspiring, and unique. Each room will be hand painted, like this one. This is the fourth room I’ve done in our house, and my daughter just asked me to redo her room next. I already have lots of fun ideas brewing.

Thanks so much to whoever came and scrolled through and took the time to look at our new bathroom. I had so much fun doing it, but I’m also glad its complete! I had a great time taking part in the One Room Challenge.